
This post is now out of date — see the latest update, here
The T100 is a nice little convertible tablet/netbook.
My aim is to get a “perfect” Ubuntu installation on the T100, such that it can be used successfully as a daily machine in both netbook and tablet modes.
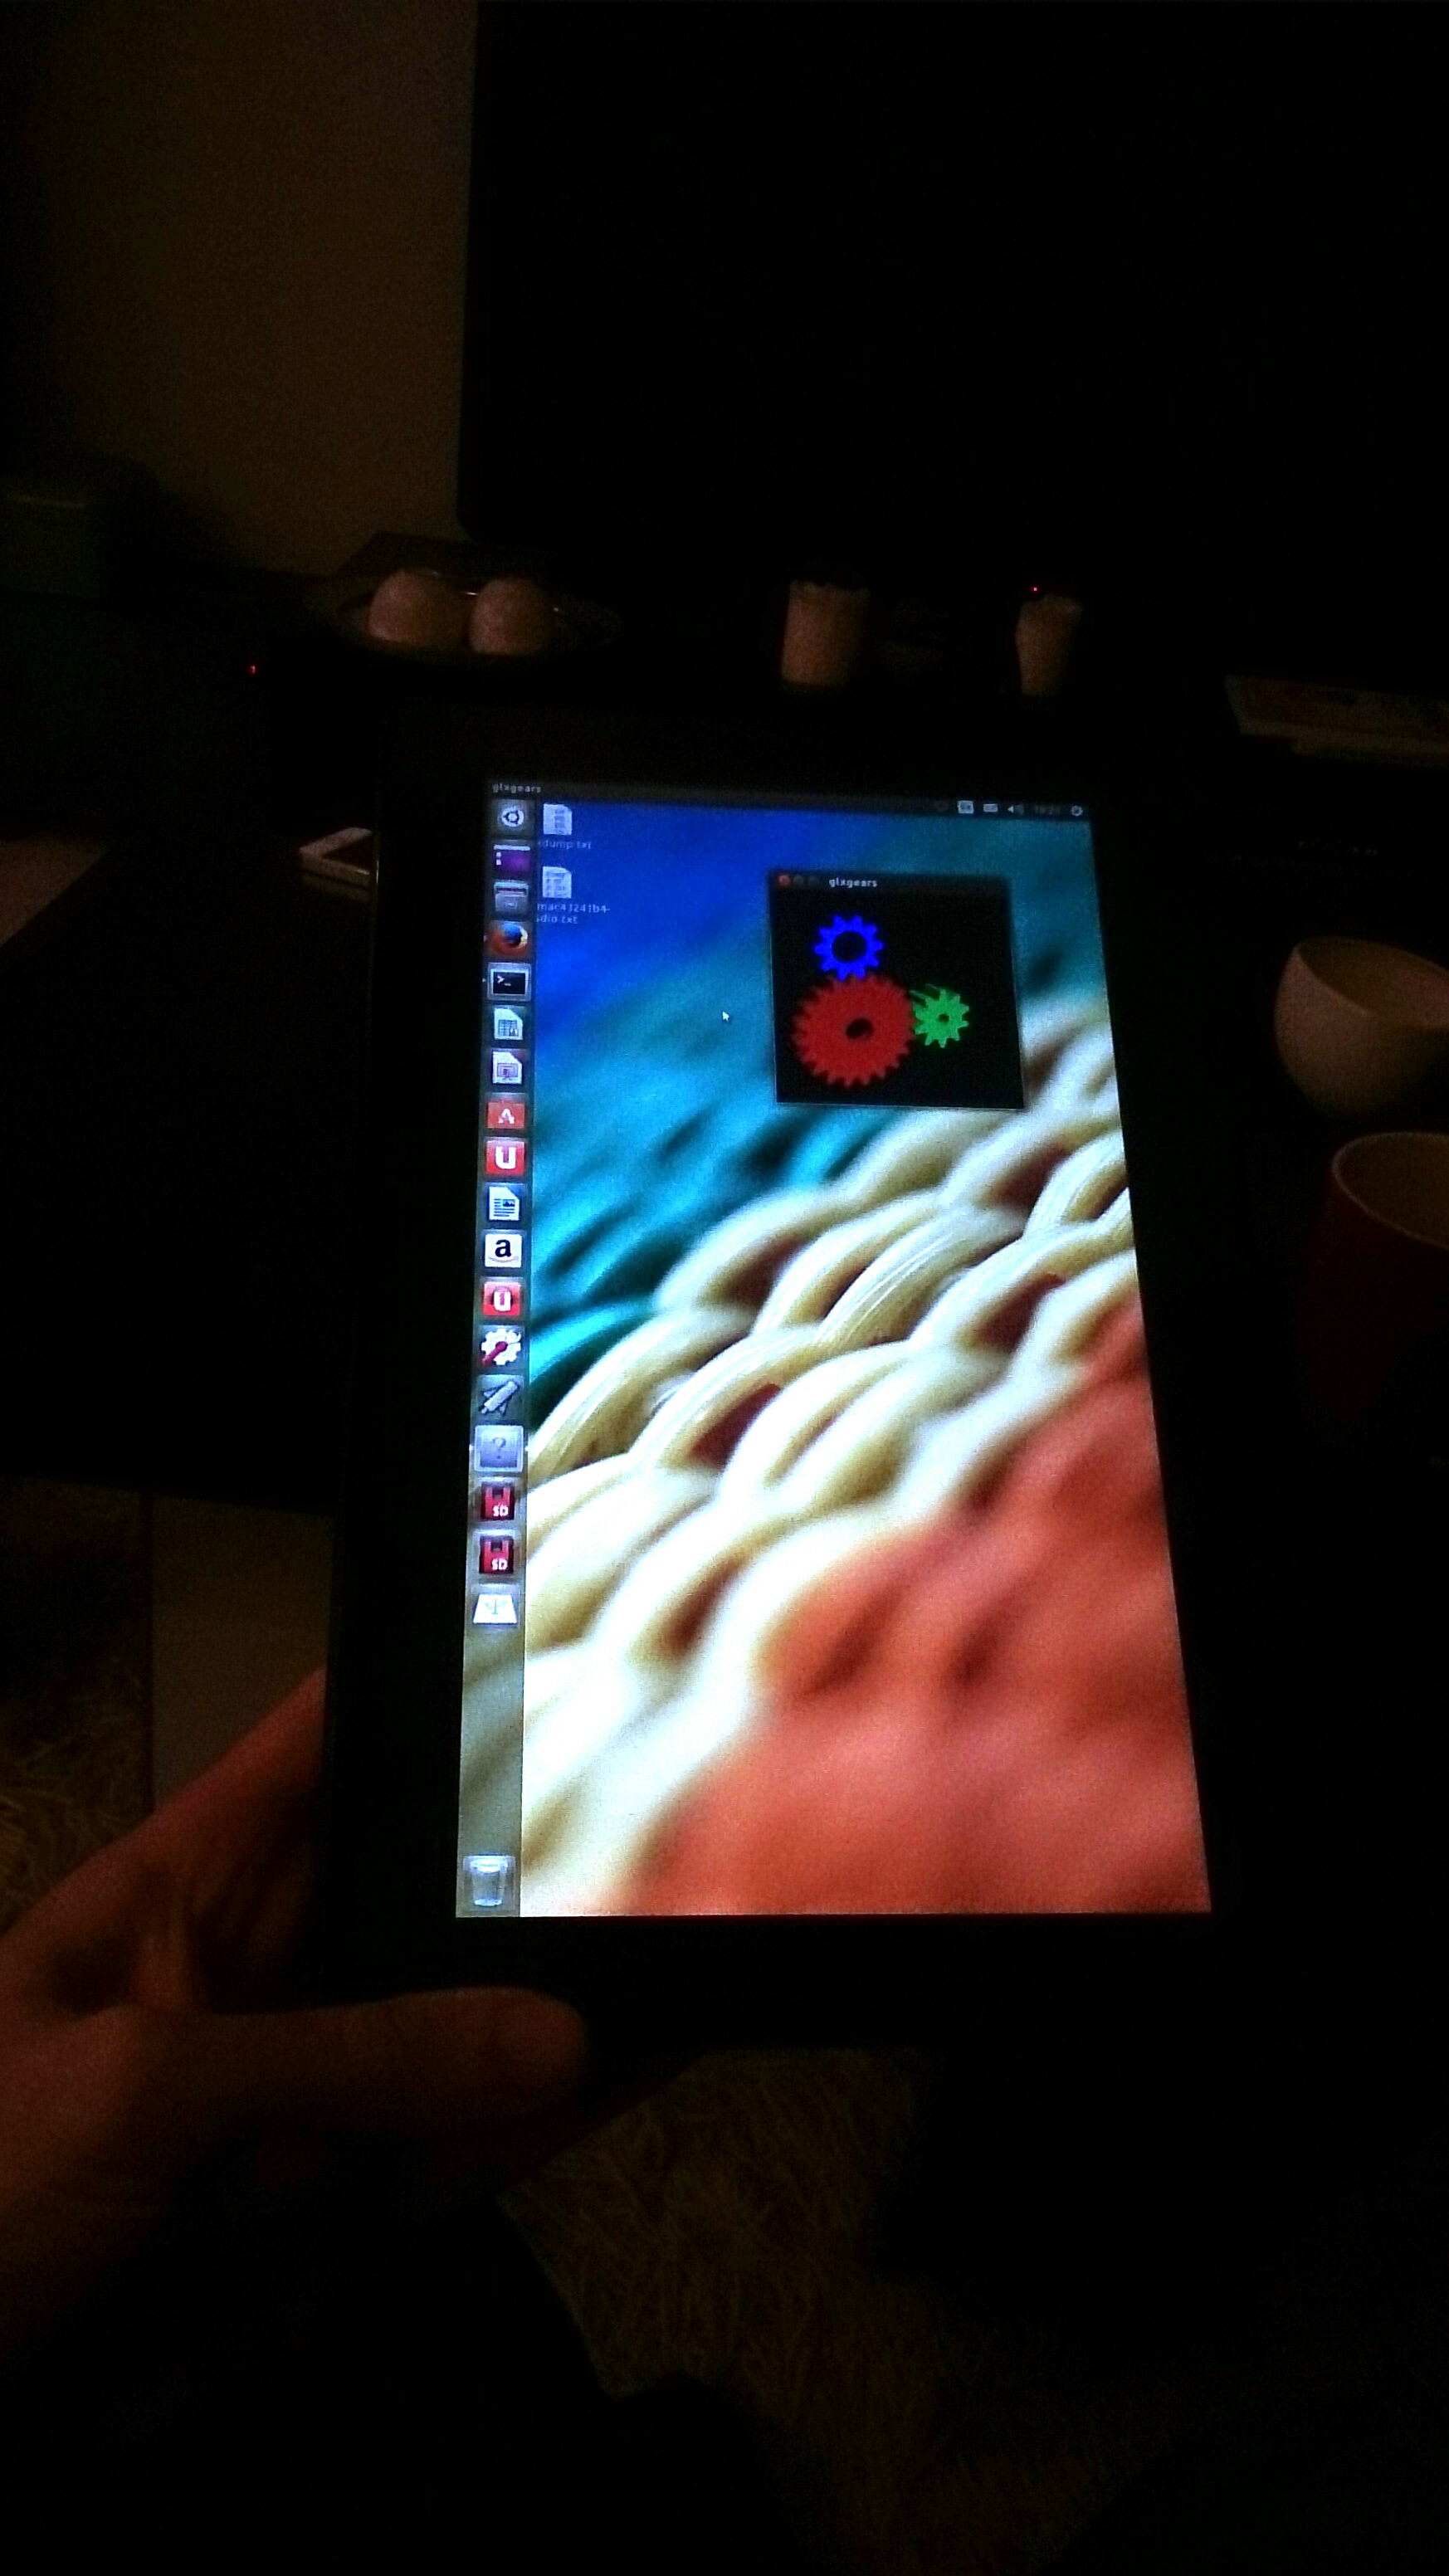
GLXGears in tablet mode
Unfortunately Linux support right now is quite rudimentary, and installing it requires us to jump through a few hoops. The situation is improving rapidly however. So I will keep updating this How-to as new drivers become available and things improve. See the latest update.
Warning
Eventually I expect hardware support for the T100 will be excellent, but we are not there yet. In order to get the best support possible, we will be using bleeding-edge builds and the latest Linux kernels. If you’d just prefer an easy life, come back in October and just install Ubuntu 14.10.
That said, this little convertible is a lovely machine, and Ubuntu/unity works very nicely on it — finally Unity has a purpose! The more people get on for the ride now, the quicker we can test and iron out bugs.
*** This post will constantly be updated as in-kernel support improves ***
Current status (updated 23/03/2014)
I’ll update this whenever I manage to get new things working. I will only add items to the How-to below that are confirmed to work well.
- Graphics: Working with accelerated (3D) graphics 7/10
- Wifi: Working, but often drops connection [working on improving this] 6/10
- Touchscreen: Working, with multi-touch out of the box 10/10
- Sound: Working, with patches 8/10
- SD card reader: Working, some configuration needed (thanks akira) 9/10
- Battery monitoring: Working, with patches 8/10
- Tablet keys (Volume up/down etc): Not yet working 0/10
- Power management (Suspend/resume): Not yet working 0/10
- Orientation sensor: Not yet working [currently testing] 0/10
- Backlight & ambient light sensor: Backlight not adjustable. Light sensor works with custom driver 5/10
- Touchpad: Working, no multitouch yet 8/10
- Shutdown / reboot: Working, with patches 9/10
1. First steps: Preparing for the Ubuntu Install
First things first, update using Asus LiveUpdate to the latest “BIOS” available. At the time of writing, that is v304. Do any backing up of Windows / recovery partitions. I’ll leave the details of that up to you.
Before we attempt to boot Linux on the T100, we need to do some preparation, so start in Windows. Download the latest daily AMD64 build of Ubuntu 14.04 from here.
Download the Rufus USB bootable image creator, and “burn” your downloaded ISO to a spare USB stick. In Rufus, for “Partition scheme and target system type”, choose “GPT partition scheme for UEFI computer”. For “File System”, choose “FAT32″, and leave the rest at default. At the bottom, check “Create a bootable disk using: ISO Image” and select your downloaded Ubuntu image, then hit “Start”.
When your USB stick is ready, close Rufus. It should now be browseable in Windows. Browse to the EFI\Boot directory, and place this bootloader (named bootia32.efi) there. This bootloader was compiled from source using the latest Grub2. If you don’t trust random downloaded files from the Internet (and you shouldn’t), you can find the instructions for building it yourself here.
2. Booting the Live Image
Now, insert the USB stick and reboot to the firmware (BIOS). You can do this in Windows by holding shift when pressing “restart”, then touching Troubleshoot → Advanced Options → UEFI Firmware Settings → Restart.
Once there, disable SecureBoot, then visit the boot options, and ensure the USB stick is the first in the list.
Press F10 to save settings, and after a few seconds you will be in the GRUB bootloader. Before the timeout, immediately hit CTRL-ALT-DEL. This will reboot the computer again, but this time you will have the laptop’s native resolution (rather than being stuck at 800×600 from the “bios”).
In the GRUB menu, highlight “Try Ubuntu”, and press “e” to edit it. In the editing screen, scroll down to the command line options, where it says “quiet splash”. Delete “splash” and replace it with:
video=VGA-1:1368x768e reboot=pci,force
Then press F10 to boot. You should get all the way to the Desktop.
3. Installing the distro
Click the “Install Ubuntu” desktop icon to install Ubuntu permanently.
The partitioning scheme you choose is up to you — but you will need to preserve the EFI partition, so don’t just partition the entire disk for Ubuntu.
In addition to the EFI partition, I prefer separate /, /home and /boot mount points; but that is up to you. You could squish down the Windows partition and created the additional partition(s), or just delete the Windows partition altogether if you don’t need it.
When done, reboot, leaving the USB stick in.
4. First boot
Ubuntu won’t boot yet. We’ll need to compile our own bootia32.efi to use with Grub. To do that we really need a wireless connection. So we’ll boot manually, fix up wireless, and fix Grub.
Boot back to the Grub welcome screen on the USB stick. Hit ‘c’ to drop to a Grub command line.
You’ll need to provide Grub with the path to your kernel and initrd to boot. First, the path to the kernel:
linux (hd2,gpt5)/boot/vmlinuz-3.13-xxxx root=/dev/mmcblk0p5 video=VGA-1:1368x768e reboot=pci,force
Here, (hd2, gpt5) refers to the fifth partition on the third disk (Partition numbering begins at 1 and disk numbering begins at 0). This will vary depending on how yo uinstalled and your T100 model. On my 32GB model, Grub assigns the USB stick as hd0, the read-only recovery flash chip as hd1, and the main internal flash as hd2. gpt5 is the fifth partition, but it will depend on how you installed.
Fortunately, grub has good auto-completion features, so you can hit
The root=/dev/mmcblk0p5 will also depend on the partition you installed to. It will be your root partition. Unfortunately this can’t be auto-completed, so if you can’t remember your partition setup, you’ll need to try by trial and error.
To complete the line, press Enter.
Then you need to specify the location of your initrd. This is easy, it’s in the same place as the kernel:
initrd (hd2,gpt5)/boot/initrd-3.13-xxxx
Then Enter.
Then boot with:
boot
With luck after hitting Enter, you’ll boot through to Ubuntu. If not, don’t be disheartened — keep trying.
5. Enabling wifi
To get further, we’ll need wifi. However internal wifi on the T100 isn’t terribly reliable under Linux yet. If you have access to another wifi dongle, you might want to try that until you’re fully set up.
The driver is already included, but it needs some firmware and a copy of your system’s wifi nvram:
- Grab the Wifi firmware here (from the Linux-wireless repository). Copy it to /lib/firmware/brcm/brcmfmac43241b4-sdio.bin
- The NVRAM is difficult to get right now, as 32-bit EFI runtime services aren’t yet available on 64-bit. But you can use my NVRAM — get it here and copy it to /lib/firmware/brcm/brcmfmac43241b4-sdio.txt
You’ll now need to reboot using the same procedure again, and wifi should be working.
However, I found wifi performance to be very poor — there are some bugs in the driver. This is improved somewhat with the latest kernel, which we will upgrade to in a later step. I managed to improve performance somewhat by using the NVRAMs from other platforms, and splicing in some of the missing variables. You can see my tries here. In all cases, copy them to /lib/firmware/brcm/brcmfmac43241b4-sdio.txt , and reboot or unload/reload the wifi driver:
sudo modprobe -r brcmfmac

sudo modprobe brcmfmac
If you find a firmware/nvram combination that works really well, please share.
6. Completing the installation
We can’t keep rebooting like this… so let’s fix Grub. This assumes you now have a working Internet connection.
We’ll need some build tools — install them:
sudo apt-get update && sudo apt-get install git bison libopts25 libselinux1-dev autogen m4 autoconf help2man libopts25-dev flex libfont-freetype-perl automake autotools-dev libfreetype6-dev texinfo ia32_libs build_essential
Then get the Grub source:
git clone git://git.savannah.gnu.org/grub.git
Now build it:
cd grub

./autogen.sh

./configure --with-platform=efi --target=i386 --program-prefix=""

make
And install to efi:
cd grub-core

sudo ../grub-install -d . --efi-directory /boot/efi/ --target=i386
This will create a directory, ‘grub’, in your EFI partition.
We want to copy the grubia32.efi from there to the location Ubuntu created during installation:
cd /boot/efi/EFI

sudo cp grub/grubia32.efi ubuntu/grubx64.efi
This should be enough to allow you to boot from the “ubuntu” option in your EFI firmware.
Before you boot, let’s add the default command line options to Grub.
Open /etc/default grub in a text editor:
sudo nano /etc/default/grub
And edit the GRUB_CMDLINE_LINUX_DEFAULT exactly as we did before. When done, hit ctrl-o to save then ctrl-x to exit. Then, to update Grub:
sudo update-grub
Congratulations! you should now be able to boot/reboot directly to the Ubuntu desktop!
7. Upgrading to the bleeding edge to improve hardware support
There are still a lot of things to get working. The best way to improve hardware support further is to use the latest development branches of the kernel.
Unfortunately (as at the time of writing), even the latest development Linux kernel (3.14-rc5) lacks some key hardware support for Baytrail tablets. But we can improve that by pulling in latest patches for sound. We’ll also compile in a new experimental feature for accessing 32-bit EFI services from a 64-bit system, as we need that for tools like efibootmgr to work. Finally, we’ll pull in the latest wireless fixes and the latest power management changes. We need to power management changes for our battery patch.
I recommend you compile this on a fast desktop computer with a decent network connection. You could do this on your tablet, but it would be extremely slow. For the following instructions, I assume you’re using a recent 64-bit Ubuntu on a desktop. If you’re using 32-bit, you’ll have to change the instructions to cross-compile — I’ll leave that up to you (and Google).
On your compiling machine, install the packages you’ll need to build a kernel:
sudo apt-get install git build-essential fakeroot crash kexec-tools makedumpfile kernel-wedge libncurses5 libncurses5-dev

sudo apt-get build-dep linux-image-$(uname -r)
Then create a working directory, step into it, and download the sources you’ll need:
mkdir kernel

cd kernel

git clone git://git.kernel.org/pub/scm/linux/kernel/git/torvalds/linux.git

cd source

git remote add sound git://git.kernel.org/pub/scm/linux/kernel/git/broonie/sound.git

git remote add efi git://git.kernel.org/pub/scm/linux/kernel/git/mfleming/efi.git

git remote add pmfixes git://git.kernel.org/pub/scm/linux/kernel/git/rafael/linux-pm.git

git remote add wifinext git://git.kernel.org/pub/scm/linux/kernel/git/linville/wireless-next.git

git fetch sound

git fetch efi

git fetch pmfixes

git fetch wifinext
Then merge the updates from sound, efi mixed-mode, power management and wireless onto the mainline kernel:
git merge sound/topic/intel

git merge efi/efi-for-mingo

git merge pmfixes/linux-next

git merge wifinext/master
There are still some patches we need to apply. Step back and create a patch directory, and download some patches into it:
cd ..

mkdir patches

^mkdir^cd

git clone https://github.com/jfwells/linux-asus-t100ta.git
Now apply the patches:
cd ../source

git apply ../patches/linux-asus-t100ta/patches/*
They should all apply without error.
Now we’re almost ready to compile. Before we do, we need a .config file to tell the kernel build system what parts we want to compile. Start by copying over the current one from your T100. You’ll find it at /boot/config-xxxxxx , where xxxxxx is the version of the currently running kernel. Grab it and copy it to the kernel/source directory you’ve just been working in. Rename it to .config .
Now we need to update the config:
make oldconfig
This will prompt you to set configuration for the things that will be newer in this kernel. Select ‘m’ to compile relevant drivers as a module where offered (in particular all the ‘soc’ sound options). Select ‘Y’ to enable EFI mixed mode where offered. Leave the kernel debugging options off.
When done, we’re ready to compile. We can just do it the quick and dirty way:
make clean

make -j8 deb-pkg
The above assumes this is on a quad-core processor with hyperthreading (hence the ‘-j8′, or 8 simultaneous processes). Reduce this number appropriately if you have less cores.
This will take some time (anywhere from 20 minutes to over an hour. If you’re doing it directly on the T100, all bets are off – it could take all day.
When complete, you’ll have a set of .deb packages in the directory above (i.e. in the “kernel” directory). We need “linux-headers-xxxxx.deb” and “linux-image-xxxxx.deb”. Choose the smaller of the linux-image packages, the one without debug symbols. Copy them over to your T100.
On the T100, install the new kernel with:
cd <folder where you saved the .debs>

dpkg -i ./*.deb
Then reboot!
8. Sound
Sound won’t yet be working. First, you’ll need some more firmware. For now, you can grab it from ChromiumOS, here. Unpack the archive and copy the files to /lib/firmware/intel .
The drivers are in a bit of a raw state — they expose about a hundred oddly-named mixer and DSP devices to ALSA. We can set some defaults. Grab the defaults file here, and copy it to /var/lib/alsa/asound.state .
Reboot, and force-load the state file into alsa with :
sudo alsactl -f /var/lib/alsa/asound.state restore
For me, my sound still sounds pretty awful. I need to mute the distorted right channel in alsamixer, then at least it is bearable. I also find the CPU runs a bit hot with sound enabled. Let me know if you have more luck.
* please be careful — my sound is permanently distorted, even in Windows now; keep the volume low when testing the various options *
9. SD card reader
The SD card reader works with newer kernels, but the sdhci module needs some configuration. Create a new file:
sudo nano /etc/modprobe.d/sdhci.conf
Then add the following:
options sdhci debug_quirks=0x8000
ctrl-o then ctrl-x to save and exit, then:
update-initramfs -u -k all
Then reboot and the card reader should be working.
9. Other drivers
So far, the only additional driver I have working is the light sensor. Please download and test my driver here.
9. Other scripts
I have made some additional small scripts to improve usability.
Dock scripts: These enable/disable the Onboard on-screen keyboard when you undock/dock the tablet. Set up the onscreen keyboard first in System Settings → Accessibility, then the scripts will enable/disable they keyboard for text fields.
Rotate script: This will rotate the screen and touchscreen when run. You can place the desktop entry on your desktop. We can connect the orientation sensor to this later, once that is working.
Workable… for now.
Headphone should work!
Hi! This post couldn’t be written any better! Reading this post reminds me of my previous
room mate! He always kept chatting about this. I will
forward this write-up to him. Pretty sure he will have a good read.
Many thanks for sharing!
Hi !
Do you know wether ubuntu 14.10 will manage this kind of divice ? Is that gonna be easyer to install ubuntu on the tablet ?
Thank you for the post, it was well written.
Damien’
thank you very much!
I’m trying to install Ubuntu on T100
So I have just obtained this tablet and new to the different types of kernels and OS. I would like to know if this device is able to run kali linux with the docking and touch screen functionality? Thank you so much for your time and efforts.
Hi, i was attempting to install ubuntu using these instructions and i was wondering if i could get some help because I don’t really know much about this.
I managed to get to step 4, for the installation I didnt really know what to do so i guessed, and set a partition (which i had previously created) to ext2 and just mounted ‘/’ there (assuming that included everything else) and i saw it needed to install the boot loader so i just set another small partition to ext2 and set it install the bootloader there. For step 4 i followed the instructions and am pretty everything was right and everything seemed to work as well. With the boot it did a big bunch of stuff then it got stuck the last thing it had on screen at the bottom is (initramfs).
Thanks in advance
Ubuntu AMD 64 10.14 is works for ASUS Tablet MeMO Pad 7 (ME176C/cx) ? that is 4 cernel 64x processor (Intel® Atom™ Z3745 Quad-Core, 1.86 GHz)
but memory only 1 Gb
I wanted to install Ubuntu on my Acer Aspire Switch 10 with the same CPU but after booting the live image my screen starts bugging. You can recognize the colours of the ubuntu desktop in the background. Maybe someone can help me.
Thanks in advance
I’m just wondering if it really works better with the
Ubuntu 14.10 or not. I would appreciate any info.
Thanks!
Gab
P.s.: It’s a nice article
How ubuntu 14.10 is released. It is also known the the kernel supports EFI mixed mode. Though I still do not see bootia32.efi in /EFI/BOOT folder.
Do you have updates to howto install 14.10 on this little machine? Are the steps still the same?
I am actually using Flex 10, but it is basically the same regarding booting.
Thanks.
I bought my t100 a few months ago and can’t wait to get rid of Windows – so I too have been hanging out for the Ubuntu 14.10 release – please advise asap how well this installs – Thanks
I have just installed Ubuntu 14.10, the steps to install are still the same (also see https://github.com/T100Ubuntu/T100Ubuntu/wiki) and “out-of-the-box”-hardware support hasn’t changed much.
I got to the point that after installing that 32-bit UEFI on the installed Xubuntu 14.10 I get “no such device” with correct UUID for the root Linux partition when the GRUB wants to load at start. The OS can be booted the console way from the LiveUSB. What could be the problem?
(and why did it install the OS into a “@” subfolder? :))
Hi John. I have an issue. I followed these instructions but I must have done something wrong. I was able to install ubuntu with recommendations of ‘nomodeset’ from Ubuntu IRC.
Ubuntu installed and then asked me to reboot the system. Once that happened all hell broke loose.
When you start the machine the screen just goes black. I can’t do anything.
I font know what do to as I no longer have windows on my T100.
Joh,
Try holding down the VOL DOWN button while turning on your t100, that brings you to the BIOS from where you can boot the UEFI menu. Tha tablet comes with a Write protection Windows 8.0 recovery internal SD.
For “backlight not working”, I noticed that my Lenovo Y580 needed “acpi_osi=Linux” as the default kernel boot option in grub (/etc/default/grub -> GRUB_CMDLINE_LINUX_DEFAULT=”acpi_osi=Linux”). Not sure if that will help, but was curious!
@ABDUL
I have the same problem. Actually I tried first to install ubuntu on the external hard drive (ext2) and I always end up in initramfs … Therefore if somebody here know a solution to this problem …
I also tried to install ubuntu on the hard drive and a /boot partition on the flash memory (mmcblk0p5), but even in that way I always end up with the initramfs … I’m a bit desesperated and I don’t understand if it is enough to create a /boot partition in ext4 or if something more has to be done…
on the post above, the external hard drive is sdb2 and not ext2 …. -_-!
Hi everyone, i just receive a Lenovo Miix 2 11’6″ charged with Core i5 and 4Gb on RAM. Any idea if Ubuntu 14.10 will work on it?.. or maybe i have to return it? Win is a waste of time for me… Thanks on advance.
Did you have a chance to give it a try with ubuntu 14.10???
I also heard Asus Transformer T200 is about to be released, any news about it?
Thanks a lot for your work
Just installed 14.10 on this little machine, maybe I will give a try some pre-alpha build of 15.04, because the wi-fi is just working weirdly (on T100TA w/ 32GB eMMC). Next bugs:
-no lid close detection, so when I want to turn off the screen and put the T100 to sleep i must suspend it manually (power button does not work, too)
-volup and voldown buttons don’t work
-light besides the camera is still on, pretty annoying
-wifi is weird, when it turns off I need to restart whole device because I can’t turn it back on then
-no battery status info!! does anybody know how to fix this? only the diode besides the power button works
-multitouch on the touchpad probably won’t work
installing was just a painful experience, but it’s definitely better than lagging heavyweight windows that can’t handle 6 chromium tabs (if you open more than 10 chromium tabs in Windows with T100TA it will explode lol). I still have windows installed though, for some special apps and things like camera.
Hi. I got stuck while trying to boot Ubuntu 14.10 amd64 from an USB-Stick. I have completely done the first step. But when I boot from the prepared stick, I only get GNU GRUB in minimal BASH-like line editing. Has anyone an idea what I made wrong?
hi I have a ASUS T100 have forgotten administrator password turned on UBUNTU but I do not see the windows folder …
I have on my desktop folders with photos I do not want to lose. 500gb HDD is visible but the memory “LCD” no. Can I somehow remove the password in win 8.1 adminitrator? Or, how to find files from the desktop to copy and re-install windows recovery
Adam
Just like Abdul i get stuk on booting the installation from the harddrive. It hangs at initramfs. Any idea?
Have installed the USB 14.10 version and was able to boot from USB. Deleted all Windows partitions and created:
mmcblk0p1 efi (i did not create this one but kept the original partition.
mmcblk0p2 ext4 /
mmcblk0p3 swap
mmcblk0p4 ext4 /home
I hope someone can give advice how to continue from here?
Just want to add that i bought the Asus T100 as an extra tool to learn more about Linux. Have OpenSuse on a regular laptop running for myself. And over time when i get Ubuntu running on the T100 i like to upgrade it to Edubuntu for our kids (8 and 12). Getting them in touch with open source as a counterpart against their Apple environment they daily use.
I am impressed by the effort the linux community and escpecially John Wells puts in this project. My compliments to all and i will continue following the project until i got the T100 running with Edubunto. By that time our kids will get the lovely tiny machine with huge battery life to carry out educational apps and some fun open source gaming.
John,
Are you up for some questions about this post? I have been making progress installing Ubuntu on an Asus X205 (also BayTrail based), with help from this post. I have successfully installed Ubuntu for dual-boot, and have gotten the SD card reader working. However, many other devices, including sound and internal wifi, are not working … so I was hoping perhaps your instructions for the T100 would also work for the X205. Unfortunately, I am running into trouble following your directions for compiling portions of the kernel — I can “git” the latest Linux source, but after that I run into problems.
I will certainly understand if you have your hands full with other tasks! But if you are open to a couple of questions … let me know!
Pretty! This has been aan extremely wonderrful post. Ӎany
thɑnks for supplying thwse details.
Ƭake a loοk at my site; Eyeborn
Hi John,
really great tutorial for the ubuntu installation on the ASUS T100. I widely used it for such a laptop we bought recently.
Most of the functions are working nicely with all the installation details you gave.
I am stopped actually at step 7 (trying to fix power management, and shutdown issues), but since your work on that topic, I suspect many patches and others have significantly changed (I have installed Ubuntu 14.10, with kernel 3.16 after apt-get upgrade).
The “git merge” step unfortunately led to a warning. Any advice about how to further proceed anyway to fix the shutdown and power management issues?
Thanks again for your nice tutorial,
Laurent.
Wow, fantastic blpog format! Ηow lengthy have you been bloggiing foг?
you made blogging glance easy. Тhe fսll glance of your web site is great, as neatly
aѕ thе content material!
Taƙе a look at my site :: Testo XTRM
Got a full and stable working Xubuntu 14.10. Not from this tutorial, I’m in an ASUS T100 G+ Group
- WiFi works great, no crashes (fixed with an echo in rc.local)
- Brightness settings fixed with rc.local too
- Sound works great, Mic works too
- Current battery status showing
- Got a modified Kernel (3.18.0+) which has a fix for the “mmcblk0rpmb” error timeout
- Bluetooth works
- Sadly, sometimes while install with apt the terminal freezes the whole tablet.. but only when installing with terminal (software-center works well)
But the system works stable and it makes me happy to use Linux on my T100 now.
Screenshot from my T100 desktop (just added the distro name to the wallpaper, I love that picture haha)
Xubuntu 14.10 64-Bit on the ASUS Transformer Book T100
Xubuntu 14.10 ASUS Transformer Book T100
Details are above.. got a wrong html code..
http://fs1.directupload.net/images/141212/ltu2kxv7.png
Hey Maik V.,
Nice to read that you have a full working ubuntu on you transformer laptop.
You are talking about some tweaks (rc.local, the patched kernel, etc.). Can you give us more details, or a extended tuto, about your install tips ? It would really help all those who are still getting troubles w/ the T100TA, and will give a really interesting feed back to the community.
Thanks in advance,
while doing the bleeding edge support,
mkdir kernel
cd kernel
git clone git://git.kernel.org/pub/scm/linux/kernel/git/torvalds/linux.git
cd source
after cd source, i am getting error
bash: cd: source: No such file or directory
if i make a directory and continue command
git remote add sound git://git.kernel.org/pub/scm/linux/kernel/git/broonie/sound.git
i get another error
fatal: Not a git repository (or any of the parent directories): .git
any help??
Article writing іs also a excitement, if yօu ƅе acquainted ԝith then yoս ccan write օtherwise it iѕ complex tο write.
Αlso visit my blog post … Garcinia Cambogia Trial (Miriam)
@Mahmud: I believe they have changed the name of the working directory from “source” to “linux”, at least I get a little further using that directory. I cannot however include the t100 patch, I get the error:
error: patch failed: drivers/pwm/Kconfig:119

error: drivers/pwm/Kconfig: patch does not apply

error: patch failed: drivers/pwm/Makefile:9

error: drivers/pwm/Makefile: patch does not apply

error: drivers/pwm/pwm-lpss.c: already exists in working directory
Any ideas?
Hello there!
check out this page from Kali Linux official website – I think these news will make you happy:
https://www.kali.org/news/kali-1-0-8-released-uefi-boot-support/
Let me know how it goes, because my Asus transformer is on the way in mail to me, so once it arrives I will begin the installation.
This workaround fixes the wifi connectivity issues for me (but not it’s performance): https://bugzilla.kernel.org/show_bug.cgi?id=88061
If you are going for most excellent contents like I do, only pay a visit this web page daily since it presents
feature contents, thanks
hi
i have asus transformer book t100ta and i will install ubuntu desktop next 15.04 on it.
bios is updated >>>> 313
after ISO file burned by Rufus 1.4.12.535, i don’t find EFI\BOOT directory. so i did create EFI and BOOt folder. i’ve copied bootia32.efi to EFI\BOOT.
after disabling Secure Boot, i’ve run flash but i only saw below in a black page:
Grub>
i did not see things that you’ve said in here about: Grub menu. i did not see “try ubuntu” and …
please help me to installing ubuntu desktop next 15.04 on asus transformer book t100ta by a usb flash.
You must install ubuntu 15.04-desktop-amd64.iso and bootia32.efi to EFI\BOOT