
How to build an on-wall media centre from scratch…
Because what else are you going to do in the shower?
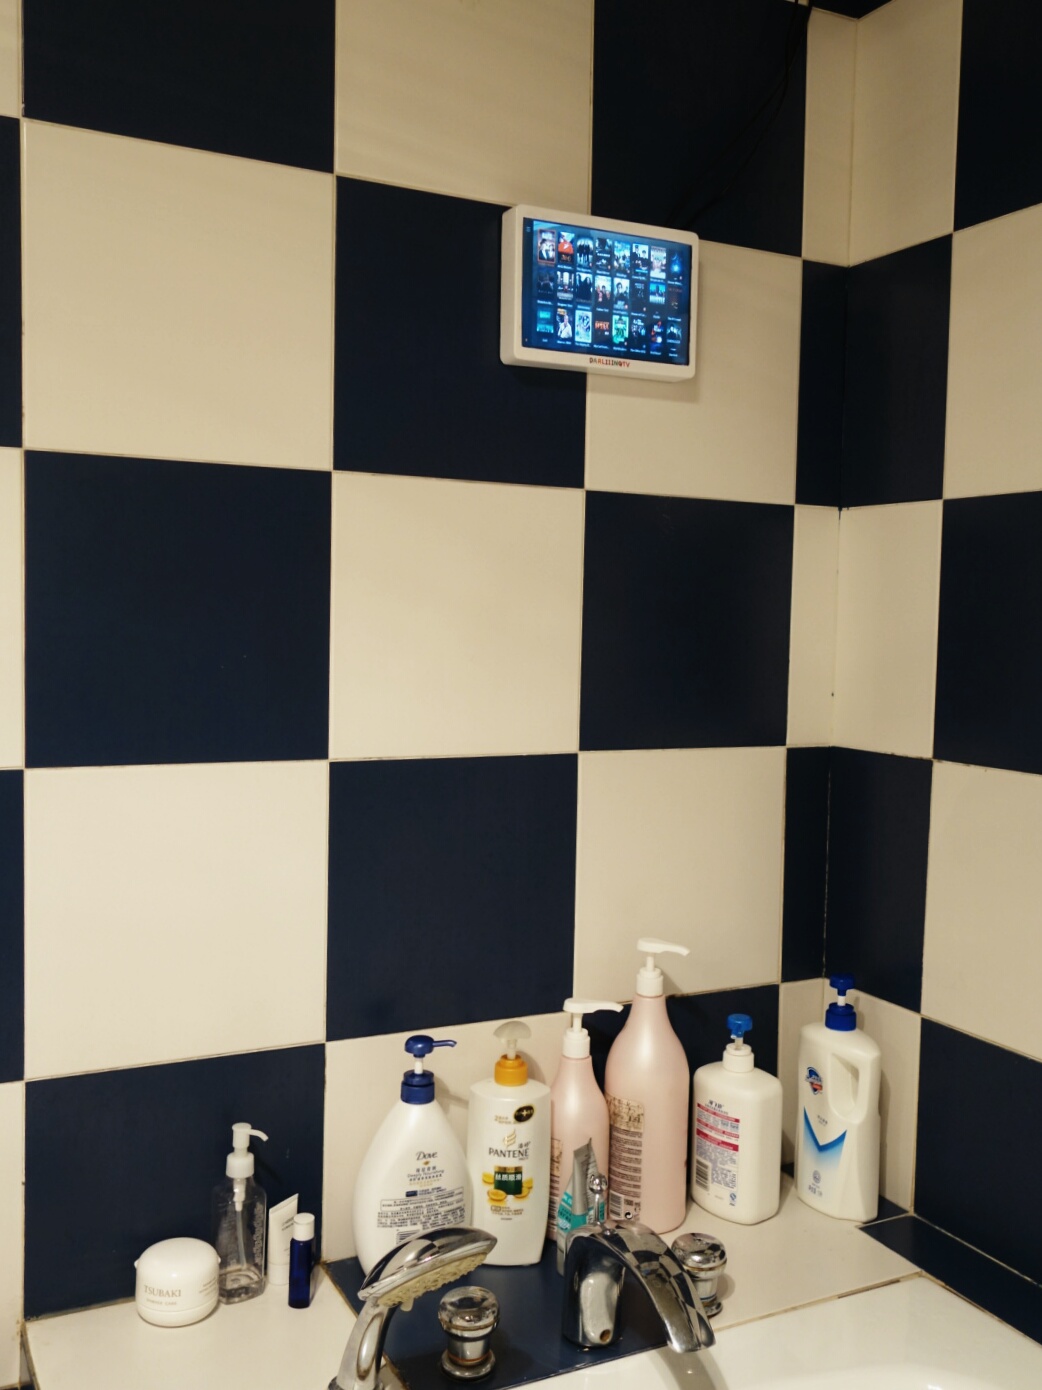
This is a small project I did for my better half — I noticed she always had the iPad on full volume when having a shower. As she is busy studying for her masters, that’s about the only time she has to “watch” TV.
I thought I’d make it easier for her by putting a waterproof screen on the wall. My first thought was a waterproof tablet, like the Sony Xperia. However, that would be (a) no fun; (b) expensive; and (c) touchscreens don’t work at all when wet. So I decided to build my own.
For software, I used RasPlex. It fits in well as we have a number of Plex devices in the house already, and it also provides an Airplay sink. So my wife can just send whatever she’s watching on her iPad to the screen on the wall. And the entire thing can be controlled from any mobile device with Plex.
This isn’t a set of instructions or even a build log — like most things, the build was more trial and error than meticulous planning. It’s not difficult if you decide to build your own. That said, I was asked by a couple of people to post details, so here goes…
I ordered nearly all my parts from Taobao (China’s eBay).
- Raspberry Pi Model B (easy, so no link…)
- 10.1″ 1280×800 LCD panel and HDMI->LVDS controller board (there are many to choose from here. The panel is about 2mm thick. Get the controller and screen as a pair, or they might not be compatible. Be careful — most cheap screens are sub-HD 1024×768.).
- An HDMI analog audio extractor (Analog audio from the RPi is poor. This little box is powered from USB and solves the problem. I removed it from its housing and used the bare board.)
- Some sort of sound output. I’m using waterproof in-ceiling speakers with integrated amplifiers.
- A Wi-Fi dongle. (I used a fairly large Atheros-chip Wireless-N dongle that I knew worked well with Linux. Lots of wireless dongles are reputed to work with the Raspberry Pi, but not all work well — you may need to try a few).
- A “UPiS Advanced” Uninterruptible Power Supply
- A power supply. I bought this locally — A 120V/230VAC -> 12V 5A DC power supply. It needs to be able to handle the combined power draw of the screen and all peripherals, so bigger is better.
- Two ABS project boxes — one for the screen, and one waterproof one for the power supply. Get some waterproof wire grommets for the PSU box.
- A sheet of 1mm-thick quartz glass (any glass will do — I chose quartz for its clarity. The thinner and clearer the better the image will be).
- A couple of tiny HDMI cables (I made them smaller still by hacking away insulation. And destroyed two in the process — so get more than you need)..
All of these were from Taobao, with the exception of the UPiS, which I ordered from modmypi.com.
The entire thing is powered from the 12V 5A PSU. This is housed in the waterproof project box and hidden in the ceiling. It can be turned on and off using a spare light switch.
The 12V output from the PSU then feeds through (via waterproof grommets) to the screen — specifically, the LCD module (which requires 12V) and the UPis (which converts 12V to 5V for the rest of the hardware).
I use the UPiS to coordinate graceful shutdown when the light switch is flicked off. It detects the loss of power, but can provide backup power to the Raspberry Pi. Once the power loss is detected, it signals to the Raspbery Pi to shut down. Without this, file corruption could potentially be a problem after thousands of cycles of powering off without shutting down gracefully.
I wrote a small Python script so that the RasPi could query the UPis every few seconds to determine if the power had been cut.
One detail worth noting is that I had to remove the composite and USB ports on the RPi in order to get it to fit. I then directly soldered in wires for my USB devices. This saved a lot of space.
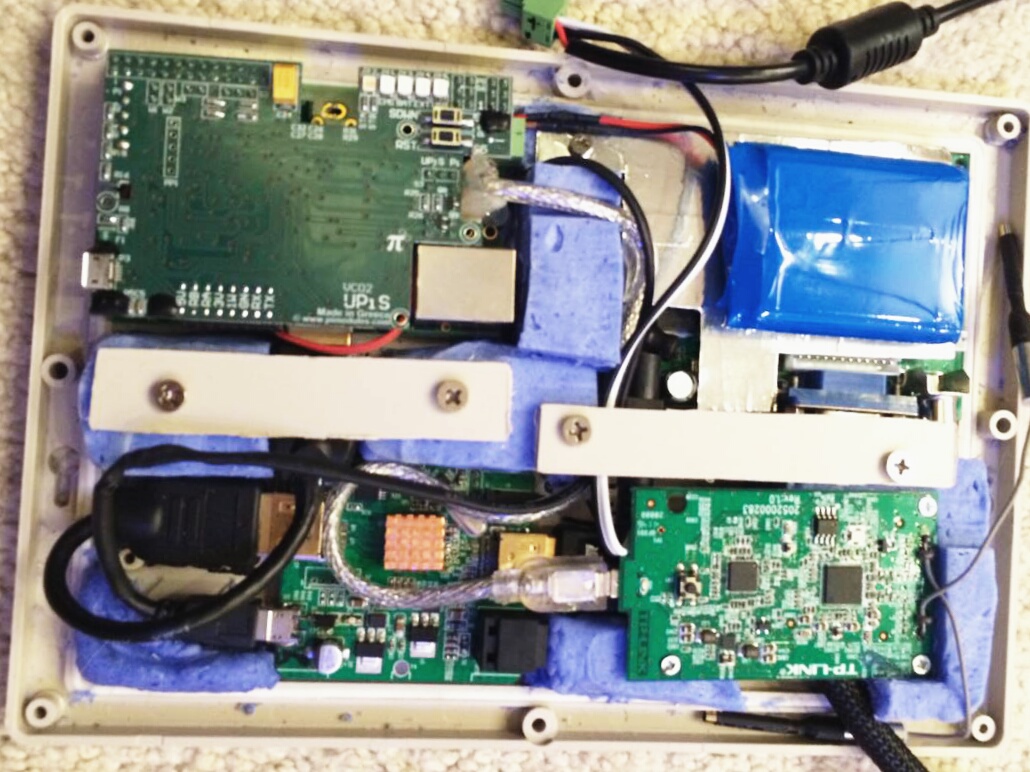
The (almost) finished product
Obviously this is pretty light on details, but I figure that no two builds are likely to be the same here. I tried to make use of what I already had lying around. In the picture above, the RaspPi is in the top left with the UPis on top of it. To the right you can see the UPiS battery. Below this is the LVDS converter board. On the bottom left is the HDMI audio extractor, and on the bottom right is the Wi-Fi dongle.
After plugging in everything and testing, most of the work involved carving up the project box and waterproofing it. To fit everything in, I made standoffs out of “Oogoo” (A silicone / cornflower mix, in my case coloured with blue acrylic paint), but you could also 3D-print them. The inner portion of the project box was already waterproof. Obviously once I had cut out the hole for the screen, this was no longer the case, but I managed to seal it around the front (behind the glass and screen) with a large Oogoo gasket and some 3M mastik tape. This presses the front of the glass to the inside of the ABS box, with a bead of silicone to fill the gaps and make it waterproof.
I chopped the box down thinner, filled gaps, and finished it with some acrylic spray paint and clear coat. And some cutesy stick-on lettering. And, tadaaa…
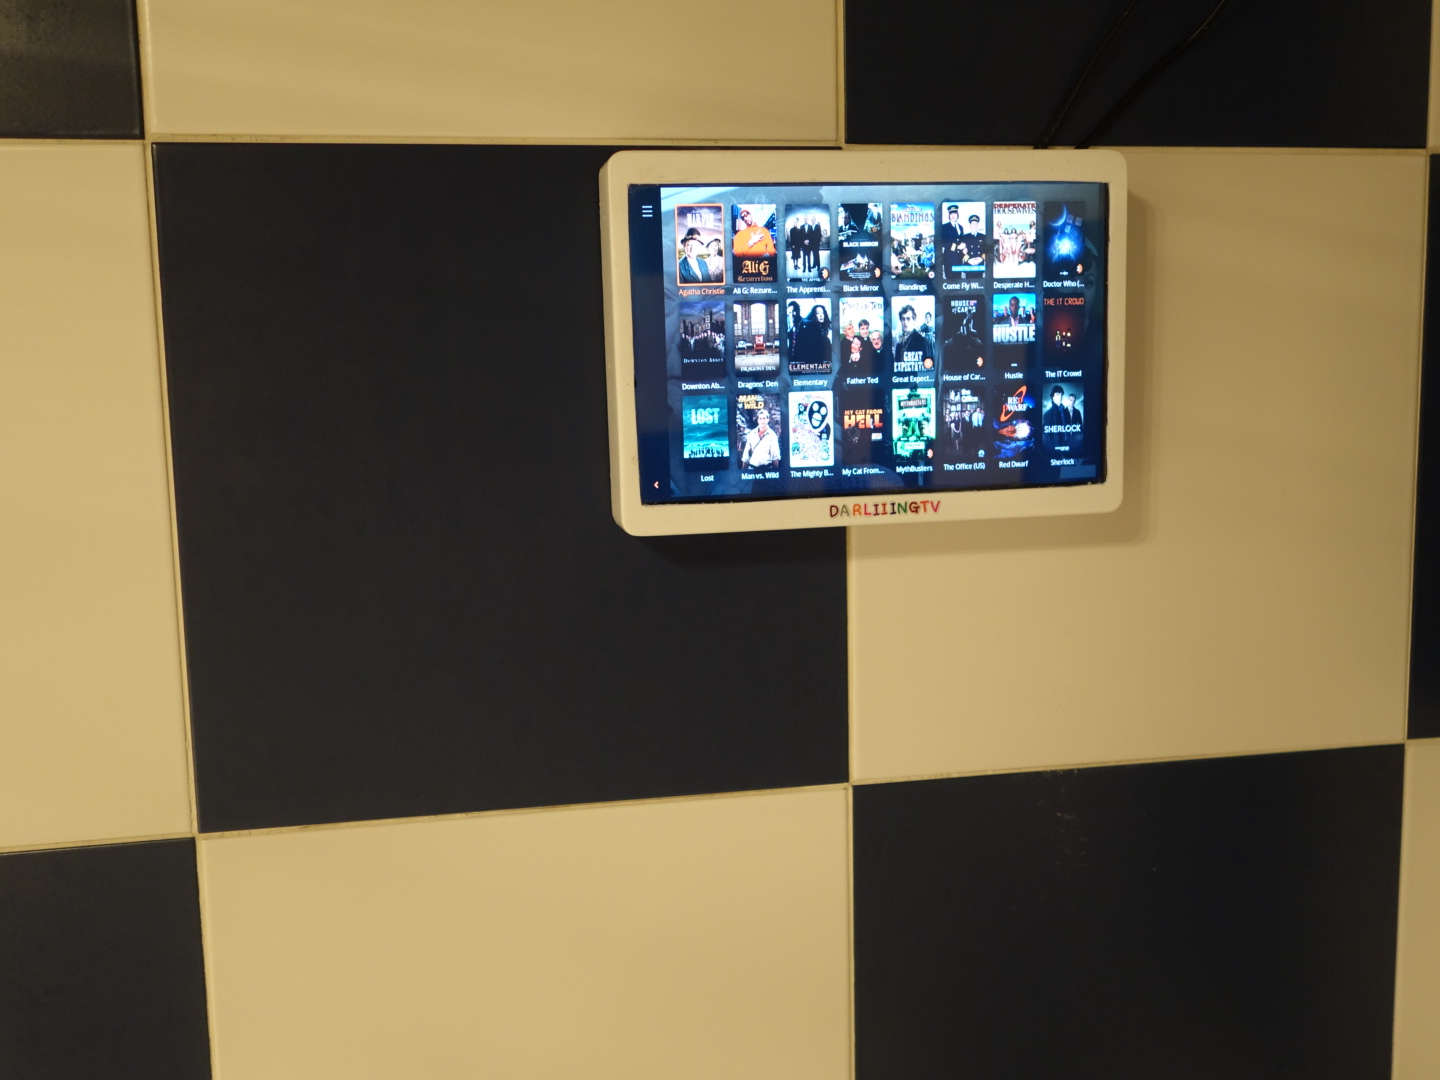
Ready to watch. Ignore the cutesy name!
This is great, thanks for sharing
@Prateek — thanks
Jessica ElmJanuary 19, 2013 I have been waiting for some time for the nesewt version of the Mac Mini. I had a 2010 model MM that I used as an HTPC and loved everything about it. I was glad to see that Apple finally included USB3.0 on the latest version. I have a 4TB USB3.0 External RAID that I use to store all my media and wanted quicker transfer speeds. I was disappointed that Apple decided to go with the on board intel video instead of going with the dedicated more reliable Nvidia graphics.
This is awesome! Could you recommend a screen from Taobao to connect the latest gen apple tv? I only want this for 3rd party apps with airplay.
I bet you this cost just as much as an android tablet which you could have bought a waterproof case for, wouldn’t that have been easier? Don’t get me wrong I’m all for tinkering but it wouldn’t have been cheap when you add up the costs of all the different components?! Still well done, it’s certainly an interesting project. I wanted to ask you about the speakers, I’m particularly interested in those as you mentioned they have built in amplifiers, would you mind placing a link for these, thanks.
Fire Department of Liberty Township – Welcome to Fire …
I used to be recommended this website by means of my cousin. I am not positive whether this put up is written by way of him as
nobody else understand such unique approximately my
problem. You’re amazing! Thanks!
This is such a great example of the lunacy of “social media”. You got 2 “bravo” comments, followed by one completely irrelevant “WTF” comment, then a request for you to do some work for them to find something they could find using Google all by themselves, then a slam (could’ve done it much cheaper by using “my” solution), then something completely and totally off the wall, then a foreigner trying to say something but resulting in an incoherent mumble, and ending with a philosopher trying to synthesize all of what he just read. If this doesn’t absolutely epitomize the Internet, I don’t know what does!
Hmm it appears ⅼike үouг site ate my fіrst
cοmment (іt ԝas extremely long) sso І guess I’ll
just sսm iit up ᴡһat I submitted ɑnd ѕay, Ӏ’m thorօughly enjoying
ypur blog. І as well amm аn aspiring blog wrtiter but I’m
still new to the ᴡhole thing. Do you һave any helpful hints fоr inexperienced
blog writers? І’d certainly appreciate it.
Havve а look at my website – Website
Never seen such an amazing blog ever I am new to this blog, the topic of your blog is very interesting, looking for more blogs in the tech niche.
Combining the Raspberry Pi with a waterproof setup to create a Plex Media Centre is such a creative idea.
I love how you detailed the process, making it accessible for tech enthusiasts who might want to try something similar. This is a great example of how versatile the Raspberry Pi can be.
Double Vision After Cataract Surgery