
This post is now out of date — see the latest update, here
The T100 is a nice little convertible tablet/netbook.
My aim is to get a “perfect” Ubuntu installation on the T100, such that it can be used successfully as a daily machine in both netbook and tablet modes.
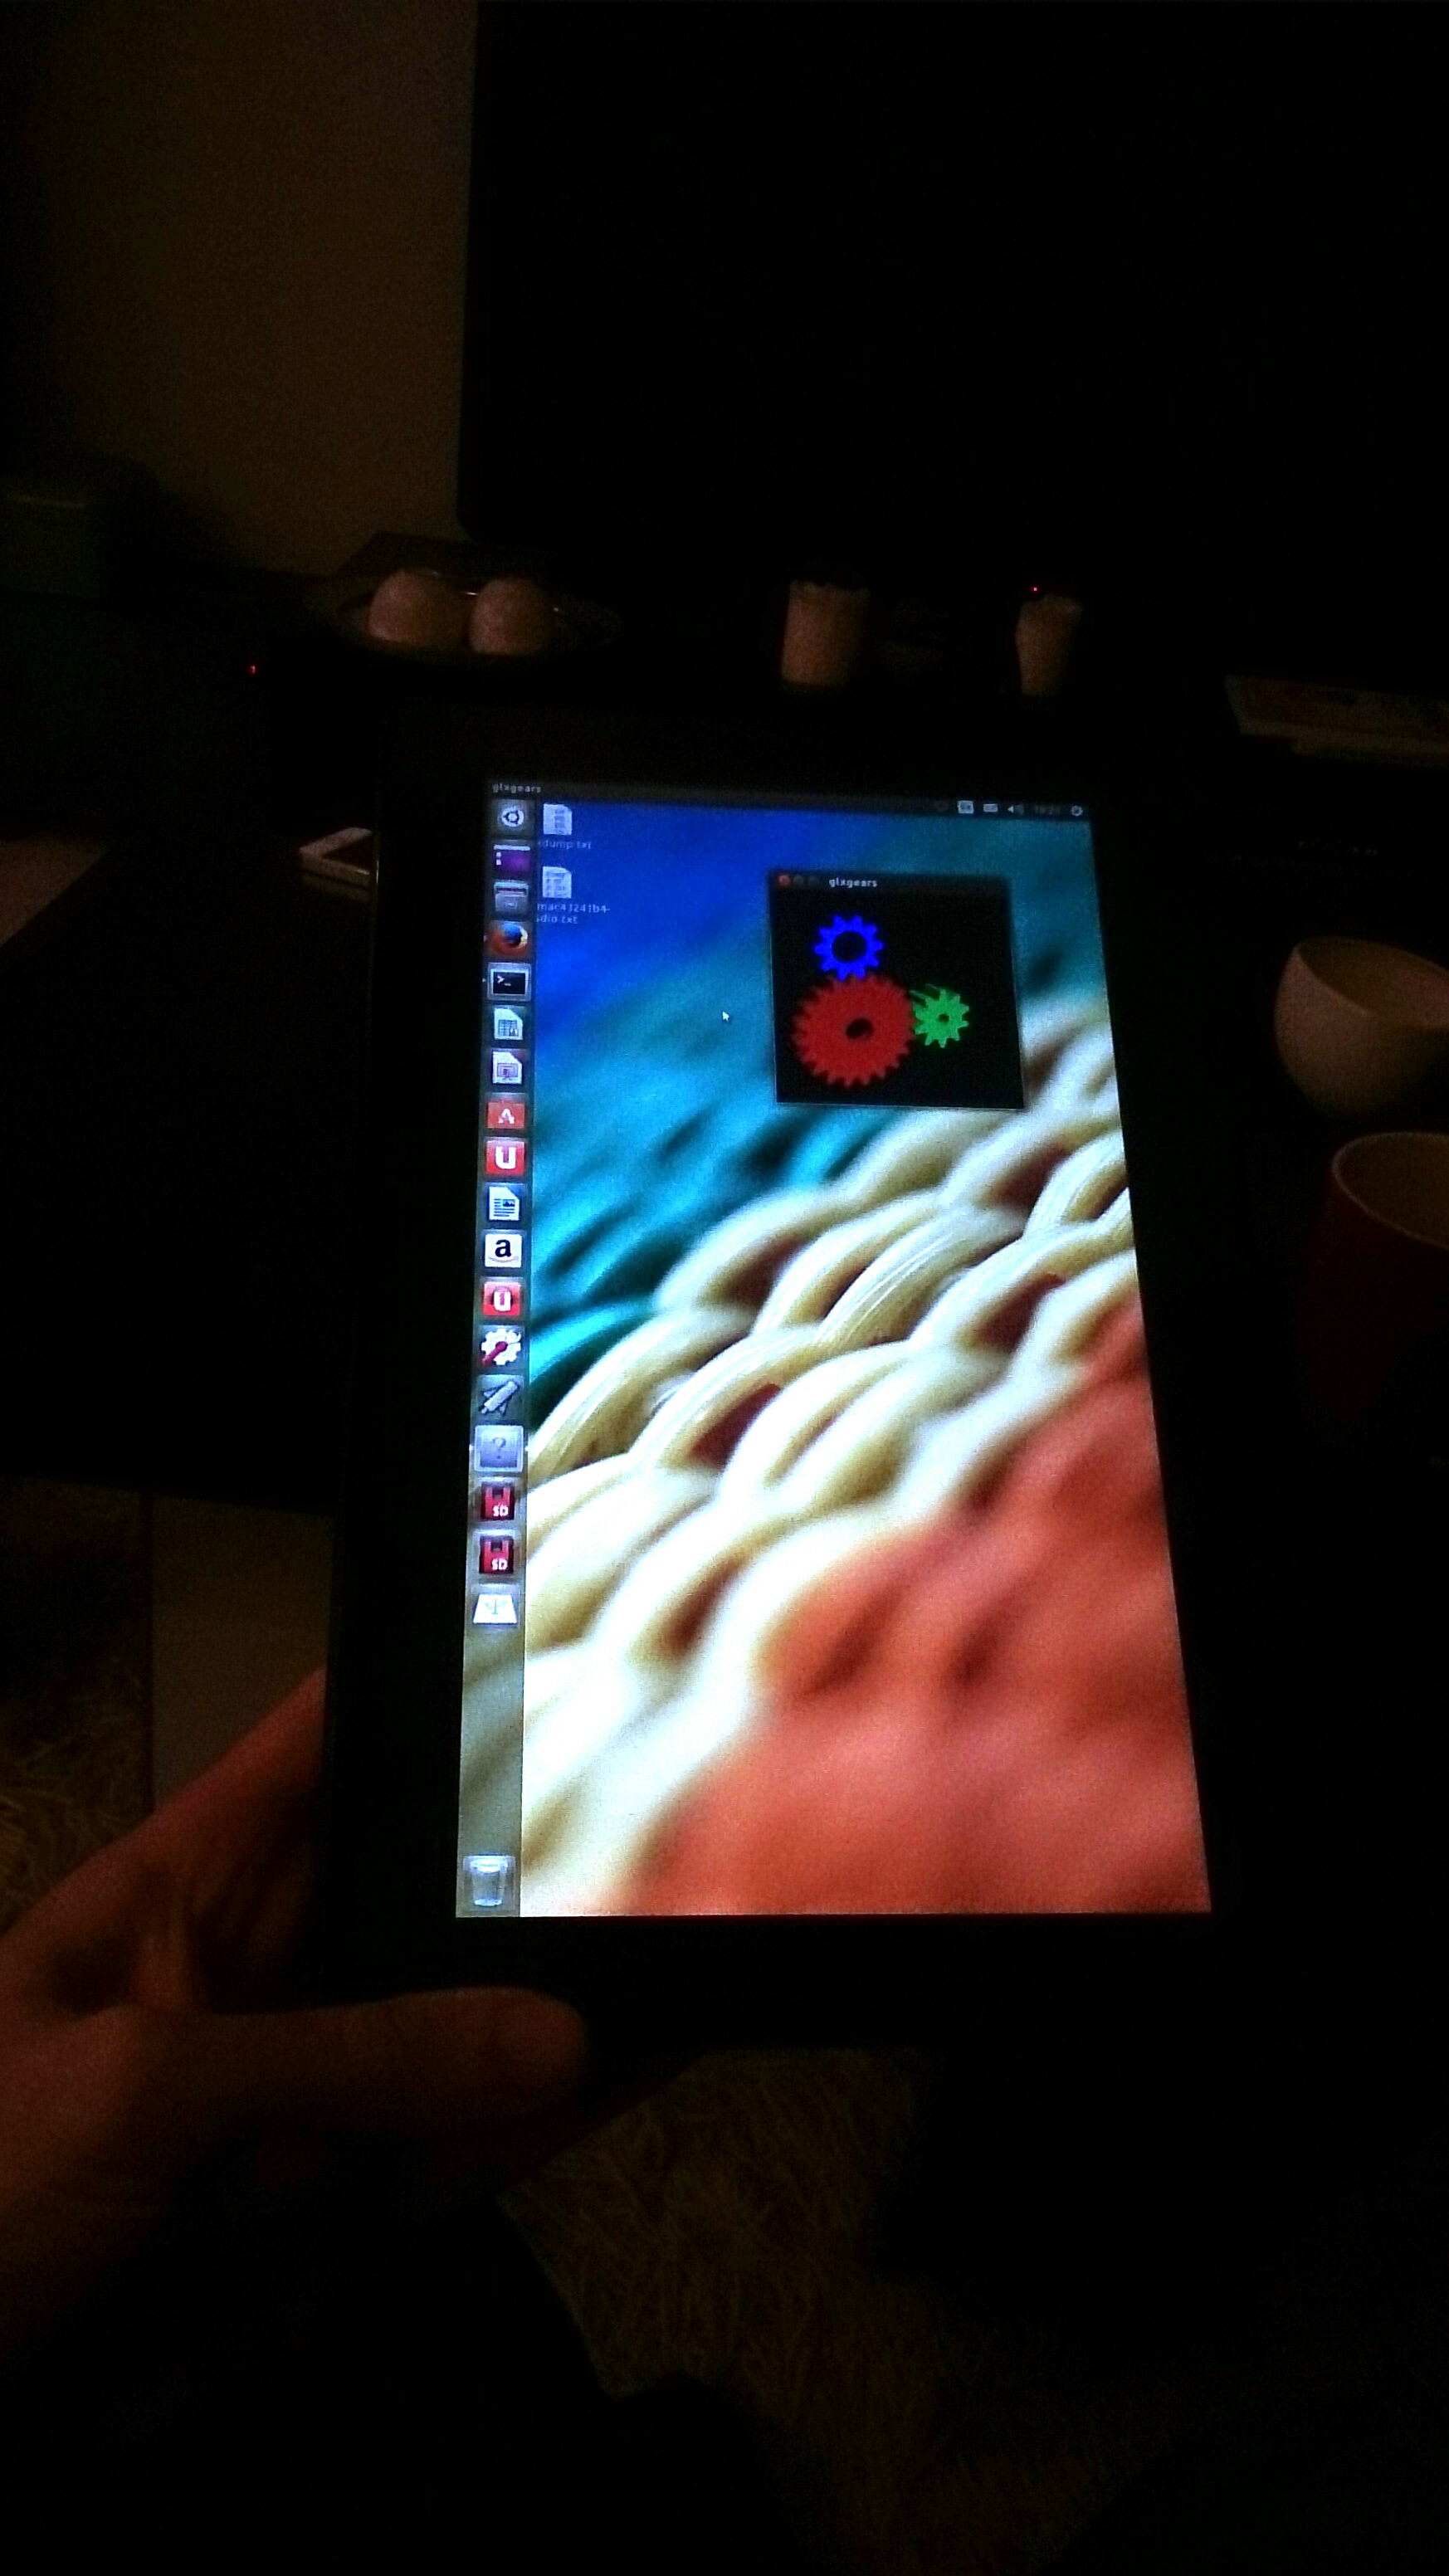
GLXGears in tablet mode
Unfortunately Linux support right now is quite rudimentary, and installing it requires us to jump through a few hoops. The situation is improving rapidly however. So I will keep updating this How-to as new drivers become available and things improve. See the latest update.
Warning
Eventually I expect hardware support for the T100 will be excellent, but we are not there yet. In order to get the best support possible, we will be using bleeding-edge builds and the latest Linux kernels. If you’d just prefer an easy life, come back in October and just install Ubuntu 14.10.
That said, this little convertible is a lovely machine, and Ubuntu/unity works very nicely on it — finally Unity has a purpose! The more people get on for the ride now, the quicker we can test and iron out bugs.
*** This post will constantly be updated as in-kernel support improves ***
Current status (updated 23/03/2014)
I’ll update this whenever I manage to get new things working. I will only add items to the How-to below that are confirmed to work well.
- Graphics: Working with accelerated (3D) graphics 7/10
- Wifi: Working, but often drops connection [working on improving this] 6/10
- Touchscreen: Working, with multi-touch out of the box 10/10
- Sound: Working, with patches 8/10
- SD card reader: Working, some configuration needed (thanks akira) 9/10
- Battery monitoring: Working, with patches 8/10
- Tablet keys (Volume up/down etc): Not yet working 0/10
- Power management (Suspend/resume): Not yet working 0/10
- Orientation sensor: Not yet working [currently testing] 0/10
- Backlight & ambient light sensor: Backlight not adjustable. Light sensor works with custom driver 5/10
- Touchpad: Working, no multitouch yet 8/10
- Shutdown / reboot: Working, with patches 9/10
1. First steps: Preparing for the Ubuntu Install
First things first, update using Asus LiveUpdate to the latest “BIOS” available. At the time of writing, that is v304. Do any backing up of Windows / recovery partitions. I’ll leave the details of that up to you.
Before we attempt to boot Linux on the T100, we need to do some preparation, so start in Windows. Download the latest daily AMD64 build of Ubuntu 14.04 from here.
Download the Rufus USB bootable image creator, and “burn” your downloaded ISO to a spare USB stick. In Rufus, for “Partition scheme and target system type”, choose “GPT partition scheme for UEFI computer”. For “File System”, choose “FAT32″, and leave the rest at default. At the bottom, check “Create a bootable disk using: ISO Image” and select your downloaded Ubuntu image, then hit “Start”.
When your USB stick is ready, close Rufus. It should now be browseable in Windows. Browse to the EFI\Boot directory, and place this bootloader (named bootia32.efi) there. This bootloader was compiled from source using the latest Grub2. If you don’t trust random downloaded files from the Internet (and you shouldn’t), you can find the instructions for building it yourself here.
2. Booting the Live Image
Now, insert the USB stick and reboot to the firmware (BIOS). You can do this in Windows by holding shift when pressing “restart”, then touching Troubleshoot → Advanced Options → UEFI Firmware Settings → Restart.
Once there, disable SecureBoot, then visit the boot options, and ensure the USB stick is the first in the list.
Press F10 to save settings, and after a few seconds you will be in the GRUB bootloader. Before the timeout, immediately hit CTRL-ALT-DEL. This will reboot the computer again, but this time you will have the laptop’s native resolution (rather than being stuck at 800×600 from the “bios”).
In the GRUB menu, highlight “Try Ubuntu”, and press “e” to edit it. In the editing screen, scroll down to the command line options, where it says “quiet splash”. Delete “splash” and replace it with:
video=VGA-1:1368x768e reboot=pci,force
Then press F10 to boot. You should get all the way to the Desktop.
3. Installing the distro
Click the “Install Ubuntu” desktop icon to install Ubuntu permanently.
The partitioning scheme you choose is up to you — but you will need to preserve the EFI partition, so don’t just partition the entire disk for Ubuntu.
In addition to the EFI partition, I prefer separate /, /home and /boot mount points; but that is up to you. You could squish down the Windows partition and created the additional partition(s), or just delete the Windows partition altogether if you don’t need it.
When done, reboot, leaving the USB stick in.
4. First boot
Ubuntu won’t boot yet. We’ll need to compile our own bootia32.efi to use with Grub. To do that we really need a wireless connection. So we’ll boot manually, fix up wireless, and fix Grub.
Boot back to the Grub welcome screen on the USB stick. Hit ‘c’ to drop to a Grub command line.
You’ll need to provide Grub with the path to your kernel and initrd to boot. First, the path to the kernel:
linux (hd2,gpt5)/boot/vmlinuz-3.13-xxxx root=/dev/mmcblk0p5 video=VGA-1:1368x768e reboot=pci,force
Here, (hd2, gpt5) refers to the fifth partition on the third disk (Partition numbering begins at 1 and disk numbering begins at 0). This will vary depending on how yo uinstalled and your T100 model. On my 32GB model, Grub assigns the USB stick as hd0, the read-only recovery flash chip as hd1, and the main internal flash as hd2. gpt5 is the fifth partition, but it will depend on how you installed.
Fortunately, grub has good auto-completion features, so you can hit
The root=/dev/mmcblk0p5 will also depend on the partition you installed to. It will be your root partition. Unfortunately this can’t be auto-completed, so if you can’t remember your partition setup, you’ll need to try by trial and error.
To complete the line, press Enter.
Then you need to specify the location of your initrd. This is easy, it’s in the same place as the kernel:
initrd (hd2,gpt5)/boot/initrd-3.13-xxxx
Then Enter.
Then boot with:
boot
With luck after hitting Enter, you’ll boot through to Ubuntu. If not, don’t be disheartened — keep trying.
5. Enabling wifi
To get further, we’ll need wifi. However internal wifi on the T100 isn’t terribly reliable under Linux yet. If you have access to another wifi dongle, you might want to try that until you’re fully set up.
The driver is already included, but it needs some firmware and a copy of your system’s wifi nvram:
- Grab the Wifi firmware here (from the Linux-wireless repository). Copy it to /lib/firmware/brcm/brcmfmac43241b4-sdio.bin
- The NVRAM is difficult to get right now, as 32-bit EFI runtime services aren’t yet available on 64-bit. But you can use my NVRAM — get it here and copy it to /lib/firmware/brcm/brcmfmac43241b4-sdio.txt
You’ll now need to reboot using the same procedure again, and wifi should be working.
However, I found wifi performance to be very poor — there are some bugs in the driver. This is improved somewhat with the latest kernel, which we will upgrade to in a later step. I managed to improve performance somewhat by using the NVRAMs from other platforms, and splicing in some of the missing variables. You can see my tries here. In all cases, copy them to /lib/firmware/brcm/brcmfmac43241b4-sdio.txt , and reboot or unload/reload the wifi driver:
sudo modprobe -r brcmfmac

sudo modprobe brcmfmac
If you find a firmware/nvram combination that works really well, please share.
6. Completing the installation
We can’t keep rebooting like this… so let’s fix Grub. This assumes you now have a working Internet connection.
We’ll need some build tools — install them:
sudo apt-get update && sudo apt-get install git bison libopts25 libselinux1-dev autogen m4 autoconf help2man libopts25-dev flex libfont-freetype-perl automake autotools-dev libfreetype6-dev texinfo ia32_libs build_essential
Then get the Grub source:
git clone git://git.savannah.gnu.org/grub.git
Now build it:
cd grub

./autogen.sh

./configure --with-platform=efi --target=i386 --program-prefix=""

make
And install to efi:
cd grub-core

sudo ../grub-install -d . --efi-directory /boot/efi/ --target=i386
This will create a directory, ‘grub’, in your EFI partition.
We want to copy the grubia32.efi from there to the location Ubuntu created during installation:
cd /boot/efi/EFI

sudo cp grub/grubia32.efi ubuntu/grubx64.efi
This should be enough to allow you to boot from the “ubuntu” option in your EFI firmware.
Before you boot, let’s add the default command line options to Grub.
Open /etc/default grub in a text editor:
sudo nano /etc/default/grub
And edit the GRUB_CMDLINE_LINUX_DEFAULT exactly as we did before. When done, hit ctrl-o to save then ctrl-x to exit. Then, to update Grub:
sudo update-grub
Congratulations! you should now be able to boot/reboot directly to the Ubuntu desktop!
7. Upgrading to the bleeding edge to improve hardware support
There are still a lot of things to get working. The best way to improve hardware support further is to use the latest development branches of the kernel.
Unfortunately (as at the time of writing), even the latest development Linux kernel (3.14-rc5) lacks some key hardware support for Baytrail tablets. But we can improve that by pulling in latest patches for sound. We’ll also compile in a new experimental feature for accessing 32-bit EFI services from a 64-bit system, as we need that for tools like efibootmgr to work. Finally, we’ll pull in the latest wireless fixes and the latest power management changes. We need to power management changes for our battery patch.
I recommend you compile this on a fast desktop computer with a decent network connection. You could do this on your tablet, but it would be extremely slow. For the following instructions, I assume you’re using a recent 64-bit Ubuntu on a desktop. If you’re using 32-bit, you’ll have to change the instructions to cross-compile — I’ll leave that up to you (and Google).
On your compiling machine, install the packages you’ll need to build a kernel:
sudo apt-get install git build-essential fakeroot crash kexec-tools makedumpfile kernel-wedge libncurses5 libncurses5-dev

sudo apt-get build-dep linux-image-$(uname -r)
Then create a working directory, step into it, and download the sources you’ll need:
mkdir kernel

cd kernel

git clone git://git.kernel.org/pub/scm/linux/kernel/git/torvalds/linux.git

cd source

git remote add sound git://git.kernel.org/pub/scm/linux/kernel/git/broonie/sound.git

git remote add efi git://git.kernel.org/pub/scm/linux/kernel/git/mfleming/efi.git

git remote add pmfixes git://git.kernel.org/pub/scm/linux/kernel/git/rafael/linux-pm.git

git remote add wifinext git://git.kernel.org/pub/scm/linux/kernel/git/linville/wireless-next.git

git fetch sound

git fetch efi

git fetch pmfixes

git fetch wifinext
Then merge the updates from sound, efi mixed-mode, power management and wireless onto the mainline kernel:
git merge sound/topic/intel

git merge efi/efi-for-mingo

git merge pmfixes/linux-next

git merge wifinext/master
There are still some patches we need to apply. Step back and create a patch directory, and download some patches into it:
cd ..

mkdir patches

^mkdir^cd

git clone https://github.com/jfwells/linux-asus-t100ta.git
Now apply the patches:
cd ../source

git apply ../patches/linux-asus-t100ta/patches/*
They should all apply without error.
Now we’re almost ready to compile. Before we do, we need a .config file to tell the kernel build system what parts we want to compile. Start by copying over the current one from your T100. You’ll find it at /boot/config-xxxxxx , where xxxxxx is the version of the currently running kernel. Grab it and copy it to the kernel/source directory you’ve just been working in. Rename it to .config .
Now we need to update the config:
make oldconfig
This will prompt you to set configuration for the things that will be newer in this kernel. Select ‘m’ to compile relevant drivers as a module where offered (in particular all the ‘soc’ sound options). Select ‘Y’ to enable EFI mixed mode where offered. Leave the kernel debugging options off.
When done, we’re ready to compile. We can just do it the quick and dirty way:
make clean

make -j8 deb-pkg
The above assumes this is on a quad-core processor with hyperthreading (hence the ‘-j8′, or 8 simultaneous processes). Reduce this number appropriately if you have less cores.
This will take some time (anywhere from 20 minutes to over an hour. If you’re doing it directly on the T100, all bets are off – it could take all day.
When complete, you’ll have a set of .deb packages in the directory above (i.e. in the “kernel” directory). We need “linux-headers-xxxxx.deb” and “linux-image-xxxxx.deb”. Choose the smaller of the linux-image packages, the one without debug symbols. Copy them over to your T100.
On the T100, install the new kernel with:
cd <folder where you saved the .debs>

dpkg -i ./*.deb
Then reboot!
8. Sound
Sound won’t yet be working. First, you’ll need some more firmware. For now, you can grab it from ChromiumOS, here. Unpack the archive and copy the files to /lib/firmware/intel .
The drivers are in a bit of a raw state — they expose about a hundred oddly-named mixer and DSP devices to ALSA. We can set some defaults. Grab the defaults file here, and copy it to /var/lib/alsa/asound.state .
Reboot, and force-load the state file into alsa with :
sudo alsactl -f /var/lib/alsa/asound.state restore
For me, my sound still sounds pretty awful. I need to mute the distorted right channel in alsamixer, then at least it is bearable. I also find the CPU runs a bit hot with sound enabled. Let me know if you have more luck.
* please be careful — my sound is permanently distorted, even in Windows now; keep the volume low when testing the various options *
9. SD card reader
The SD card reader works with newer kernels, but the sdhci module needs some configuration. Create a new file:
sudo nano /etc/modprobe.d/sdhci.conf
Then add the following:
options sdhci debug_quirks=0x8000
ctrl-o then ctrl-x to save and exit, then:
update-initramfs -u -k all
Then reboot and the card reader should be working.
9. Other drivers
So far, the only additional driver I have working is the light sensor. Please download and test my driver here.
9. Other scripts
I have made some additional small scripts to improve usability.
Dock scripts: These enable/disable the Onboard on-screen keyboard when you undock/dock the tablet. Set up the onscreen keyboard first in System Settings → Accessibility, then the scripts will enable/disable they keyboard for text fields.
Rotate script: This will rotate the screen and touchscreen when run. You can place the desktop entry on your desktop. We can connect the orientation sensor to this later, once that is working.
Workable… for now.
Hi, touchscreen on my T100 doesn’t work, can yu show me how look that n your netbook? What interface it use? What module?
You see that like some event in /dev/input ?
Sure, it worked out of the box for me — nothing I needed to do. The following modules are loaded for it:
i2c_hid i2c_multitouch
I completed everything from the installation, split windows partition into two with one being free space, split that into one with / and swap and installed. mounted the efi part and copied grub.cfg and the bootia32.efi and closed and rebooted. I tried letting it boot with both options of where to boot from. one of them I continued to get a boot loop where it restarted before the screen lit up. the other went straight to windows. Does it sound like I did something wrong?
error: disk ‘gpt5′ not found < when starting from usb
SD card slot worked with this option:
options sdhci debug_quirks=0×8000
@john That happened to me while I was testing. You might be able to boot to a grub prompt by just hitting F2 during the boot loop to go into the firnware, then just hit F10 without changing any options. (worked for me; I guess it is a firmware bug.)
Alternatively you can drop to a grub prompt on the install USB, and boot your installed system manually with:
linux (hd1,gpt5)/vmlinuz-xxxxxxx root=/dev/mmcblk0p7 vga=VGA-1:1368x768e reboot=p,f

Initrd (hd1,gpt5)/initrd-xxxxxxx

boot
The exact disk numbers and locations will be different for you, but grub can help autocomplete if you hit tab twice.
Once in, make sure you copied across the right grub.cfg (it is only a couple of lines long, and is put there by the installer).
@mi that’s a new one for me. The boot oroblems usually happen after installation. You might want to try recreating the USB. If you’re using Rufus, make sure it’s set to UEFI & GPT.
@akira fantastic, I’ll add that.
The
git checkout git://git.kernel.org/pub/scm/linux/kernel/git/torvalds/linux.git
returns an error stating this is not a repository…
might need to look into that git clone works fine but not git checkout…
@brainwreck : sorry, yes, you need to clone the first repository. Will update the instructions. Thanks
Formatted it again and another error: no such partition
@mi (and @john)– I think I screwed up the instructions and put up the wrong bootia32.efi that was hard-coded to my working system. Please try downloading the newer version.
Sorry about that.
Huh, this helped now but i cant pass through “4. First boot”. No idea how to do it. Found vmlinuz-3.13-0.16-generic (something like this, was also vmlinuz-3.13-0.16-generic.efi.signed) but what next? After typing “linux (hd2,gpt5)/vmlinuz-3.13-xxxx root=/dev/mmcblk0p5 video=VGA-1:1368x768e reboot=pci,force” computer should reboot? I just want to install Ubuntu
Nothing will happen after the linux line — it just tells grub where the kernel is. Once you type the initrd line then ‘boot’, it should work.
one last question to make sure i have this right
where should the bootloader be installed on the /dev/mmcblk0 or in the EFI partition mmcblk0p1?? still trying to be windows intact for a while yet and dont want to mess up that bootloader?
thanks!
@brainwreck, there’s no bootloader per se, just an entry in the efi partition. Ubuntu creates that during install, but you just need to replace it with a 32-but version. There’s no MBR so nothing to mess up in that respect.
So I installed Ubuntu to (hd1,gpt6) however I cannot get grub to find the kernel. I tried all of the partitions and no luck. Used “ls” command to see all my options. Is it possible root:/Dev/..…… is not set up? I viewed it from the live USB and didn’t see it on the host PC.
@john it’ll be there somewhere. Is /boot in a separate partition? If not it will likely be
linux (hd1, gpt6)/vmlinuz-.... root=/dev/mmcblk0p6 .....Bear in mind that if you’re using Grub on the USB stick, hd1 might become hd2.
I wonder… The device has a 32-bit EFI and 2GB of RAM. Why does everyone try to overdo it and install a AMD64 build with a custom built GRUB instead of going the standard 32-bit path. What are the benefits behind this? As of now I only see downsides:
1. You need to use a custom build EFI application instead of using a ready, compiled one like GRUB-EFI, rEFInd and so on?
2. AMD64 means higher (let’s say 25-50%) memory and disk space usage (larger binaries, larger registers) and the device has 2GB without any means of extending beyond this amount. Why bother?
I understand the CPU is 64-bit, but that’s not a reason to put a AMD64 build of anything if you don’t have above 3GB of RAM. Heck… you don’t even need to use a 32-bit PAE kernel. The normal 32-bit kernel will suffice. :/
I installed Ubuntu on my hdd (version 32+500 in keyboard). 4 partitions: /boot, /, swap and /home. Bootloader on the /dev/mmcblk0. Cannot get to the root (/ < this partition?). It always shows that root doesn not exist or i have a tons of code compiling and compiling again.
in the section:
And edit the GRUB_CMDLINE_LINUX_DEFAULT exactly as we did before
do you put “video=VGA-1:1368x768e reboot=pci,force”
or
“linux (hd2,gpt5)/vmlinuz-3.13-xxxx root=/dev/mmcblk0p5 video=VGA-1:1368x768e reboot=pci,force”
thanks!
nevermind i finally got it working yay!!
its just “video=VGA-1:1368x768e reboot=pci,force”
however im having trouble getting the kernel to compile get all the way and it exits out with an error
cp: cannot stat ‘System.map’: No such file or directory
perhaps do you have a compiled kernel that you can post? i am trying to compile the liunx-next kernel from kernel.org hopefully this will help
I’m using a USB to boot to grub, I only get hd0 & hd1 when using “ls”. I installed Ubuntu to gpt6. I made it “/” but did not specify boot. I tried hd2 but it says disk not found. when I use (hd1,gpt6) I get Error File not found. Any suggestion on how I should set mine up and repartition to do it right? Sorry I’m just having a lot of problems. I’m good once it boots
make sure you have the EFI partition still intact
here is my layout
mmcblk0 (hd1)
mmcblk0p1 EFI
mmcblk0p2 Windows Recovery
mmcblk0p4 Windows 8.1
mmcblk0p5 Ubuntu 14.04
mmcblk0p6 Swap
if you dont want windows then do
mmcblk0p1 EFI
mmcblk0p2 Ubuntu mounted at /
mmcblk0p3 Swap
that should get you started
Okay somewhere something is going wrong.
Here’s what I did, created gpt5 and a swap. When I created gpt5 I selected / under the setting. Next I created a swap on gpt6. I copied the efi & grub cfg to the efi boot directory . okay so I reboot usingbthe USB. Select c and here I am at grub. I hit L’s and get hd0 & hd1 with got partitions 1-6. I entered Linux (hd1,gpt5)/vmlinuz-3.13-xxxxroot=/Dev/mmblk0p5 video…… Anyways it says Error:file`vmlinuz-3.13-xxxx not found. I followed everything to this point using what the instructions state. Oh and on the installation screen where it says where to device to install boot loader I left it on the default. I’ve tried every gpt1-6. I’ve tried hd0-3 no luck. What am I doing wrong?
And I didn’t touch the Edi partition other than mounting from the disk manager and copying the two files
@john…
Just type linux(hd
Then hit tab twice to see what is available. Assuming hd1 is correct, then continue…
linux(hd1,
Then tab again.
Once you got the right gpt partition, add ‘/vm’ and tab again. Grub will auto-complete the file name for you.
The only thing you need to get right by trial and error is the root=/dev/xxx part (careful, it’s case sensitive).
@brainwreck, are you compiling on a machine with a recent kernel itself? Perhaps start with the standard mainline kernel first and check you can compile, before trying to merge the development branches.
yes i have identical 14.04 installs both running 3.13.0-16-generic one on my compiling machine and one on the t100 i compiled the linux-next kernel with no problems however that wont boot to the desktop.. i wonder if it is the git commits and patches that are goofing it up, i will re-clone the 3.14 rc5 linux and compile with no patches added… ill let you know my results…
@ john — looks like you forgot the /boot in (hd1,gpt5)/boot/vmlinuz-3.xxxxx thats why it was giving you the file not found i believe
Admin — I noticed with wifi the files provided would not allow me to connect to wifi
i think becuase in the brcmxxxx-sdio.txt contains the specific mac address of the wireless card an that needs to be customized to your specific wifi card mac address at least so perhaps put in your walkthrough to change the mac address in the brcmfmac43241b4-sdio.txt to match the mac address of the wifi card.. once i did that it connects fine…
hopefully that will make things easier
thanks again for all your help
Got further. Linux (hd1,gpt5)/boot/”kernel” root=/Dev/mmcblk0p5 “video-1……” Pressed enter. Then initrd (hd1,gpt5)……
Boot
Begins boot and stops on initrd and freezes. Both vmlinuz and united are located at (hd1,gpt5)/boot/. Did it twice and froze
you have the D capitalized in root=/dev/mmcblk0p5 linux is case sensitive it wont find /Dev/ only /dev/
Hi @john… Sorry I missed off the …/boot/… My boot partition is separate. Will update the walkthrough.
@brainwreck… Yes, same here. Actualy thats not my mac address either AFAICT. Once you get the kernel with mixed mode uo, have a look in your efi vars… You’ll see your nvram there.
@ john what error do you get? The main reason for not making it through is specifying the wrong root device in root=/dev…
If anyone gets non-distorted sound, I’d appreciate it if you could do sudo alsactl -f filename.txt save and post the filename.txt somewhere.
It should be the same as above, but there may be extra device settings that might help me undo whatever I have done.
well i was able to compile the kernel was just updated i’m on 3.14.rc6… no issues
how did you get your sound to work? i copied all the files to the corresponding locations and rebooted when i try to load it it get the following message
alsactl: load_state:1729: No soundcards found…
@brainwreck: try adding these to /etc/modules and rebooting:
snd-soc-core
snd-soc-sst-acpi
snd-soc-sst-baytrail-pcm
snd-soc-rt5640
snd-soc-sst-byt-rt5640-mach
I think after they first load successfully, you can remove them from /etc/modules.
Careful, watch for heat and do the alsactl restore before trying to use the sound…
BTW I think the wifi fixes (such that they are) are in 3.14-rc6 now, so we may not need to merge the wireless any more.
Also, the EFI / mixed-mode-merged can no longer be merged with 3.14-rc6 . However the branch efi-for-mingo also contains the mixed-mode stuff, and does apply.
EDIT: With the latest kernel sound is better for me. Right channel still much louder than the left, but distortion is much less.
Can you show me your .config from kernel?
@Adrian, sure… I’ll put it up later. Basically, everything is turned on though.
@Monos It’s only marginally more memory usage. I find it convenient to use the same platform across devices, and amd64 seems to have better support these days.
it would also be more work to get installation workiing with EFI on Ubuntu 32-bit I think.
@admin I’ld be really grateful!
@Adrian: Here you go: https://raw.github.com/jfwells/linux-asus-t100ta/master/.config
Typing on my phone. The d was not capitalized in Dev. Still no luck
Finally!!! I had to press enter after each step. Kernel enter united enter boot enter yayy
WiFi seems virtually useless. I ran updates the first reboot after getting the wifi. It disconnected. I retried to connect and kept saying I need to enter wifi password. So I used another network without a password and it tries to connect and just goes back to being disconnected. I have reboot a few times no luck anymore connecting. Also I installed all packages for the next step except for the last twoia32_libs build_essential which it said it could not locate but the rest installed before wifi quit working altogether
wifi returned when it decided on it. i was able to make it to the grub set up and am now booting like a normal human being finally. i did not have to worry about ia or build essential apparently
it looks as though ia32 isn’t need in 64 bit. i know i had trouble installing kingsoft and all the forums were stating ia32 stopped being used or something since there was multi-arch or something like that. im still a newbie. i really appreciate everyones help
@ john great! I’ll make that clearer in the article.
For the wifi, try out some of the other NVRAMs, see if you get better luck. wifi is flaky for me too.
Thanks for doing this. Please keep updating this page
@Sunil. No problem. I’m hoping to benefit as much from it as everyone else
—-
BTW, some new gpiolib patches have just been posted (I’ve been waiting for them). These should enable us to create a driver for the tablet buttons. I’ll have a play with that tonight.
And again, If anyone gets non-distorted sound, I’d appreciate it if they could do sudo alsactl -f filename.txt save and post the filename.txt for me somewhere.
I tested kernel with your .config and my is more stable, and WiFi work better.
When I finish config that for touchscreen I can send you for test.
Anyway we can create a custom ISO with most of the work built in? Or an update ppa?